
Do you and your family want to create everlasting memories? Whether your family memories are created when traveling or simply hanging out together at home, a video is not only personal, but it also allows everyone to enjoy those family memories for a lifetime. Our guest author offers these tips on how to make a video montage of your family that loved ones will cherish for years to come.

This post may contain affiliate links, and Traveling In Heels may receive a small commission if you click on the link and purchase. Thank you for your support.
How To Make a Video Montage That Loved Ones Will Cherish
Table of Contents
Are your kids about to graduate? Maybe Mom’s birthday is just around the corner? Or there’s a new family member? Did your family enjoy an epic vacation together? Or are you just feeling nostalgic? All of these are perfect opportunities to learn how to make a video montage of photos.
What is a video montage? Think of it as a digital scrapbook set to music that you can cherish for years to come. Look back on this video and remember not only the beautiful memories but the effort and love that went into making the video montage itself.
In this article, our guest author offers step by step instructions on how to create a family video montage that your loved ones will cherish forever.
Read more: Tips for Multigenerational Family Travel Planning
Pick Your Photos and Videos
The first step is to pick your photos and videos. You likely already have hundreds if not thousands of video clips and photos floating around various phones, computers, and thumb drives.
Be sure to look at your family’s social media accounts for photos that you might not have. Facebook and Instagram are especially great platforms to check and to save potential material from.
Remember that this video is going to be landscape (horizontal), so although you’ll be able to use portrait photographs and videos, you’ll want the majority to be horizontal for a consistent style.
Take Additional Photos and Video Footage
The next step is to take additional photos and video footage. You probably found an incredible amount of material that you want to use already, but keep in mind that photos move across the screen quickly! Using even a hundred photos could still result in a very short video. Really focus on capturing landscape video. Video conveys so much emotion and will be even more cherished in years to come than photos.
It might be worth investing in a phone stabilizer or using a phone or camera with built-in video stabilization. Having footage that is smooth and not shaky can turn your video from something that might be a bit difficult to watch at points to something that your loved ones will all want copies of.
Organize Your Footage and Photos
The third step is to organize it all. It can be tempting to mass upload everything into a video making software and go from there, but you’ll save yourself so much time by organizing all of your photos and videos in date and topic labeled folders.
Use this organization system for all future photos and videos as well. We recommend creating a single folder for all of your photos and videos, and within that create folders that are labeled with the month and the year. Within this folder, the specific date and title of the event. Narrowing it down even further, you’ll divide it into a photo or video folder (see below).
Month and Year > Date and Event > Photo or Video
This might seem like a lot of unnecessary work at the moment but getting everything organized will save you hours later on.
Make sure to back up all of your photos and videos with an online backup system or using an external hard drive. You don’t want to lose those precious memories!
Find Video Making Software
Finally, it’s time to get into the nitty-gritty! Now you need to find your best video montage app.
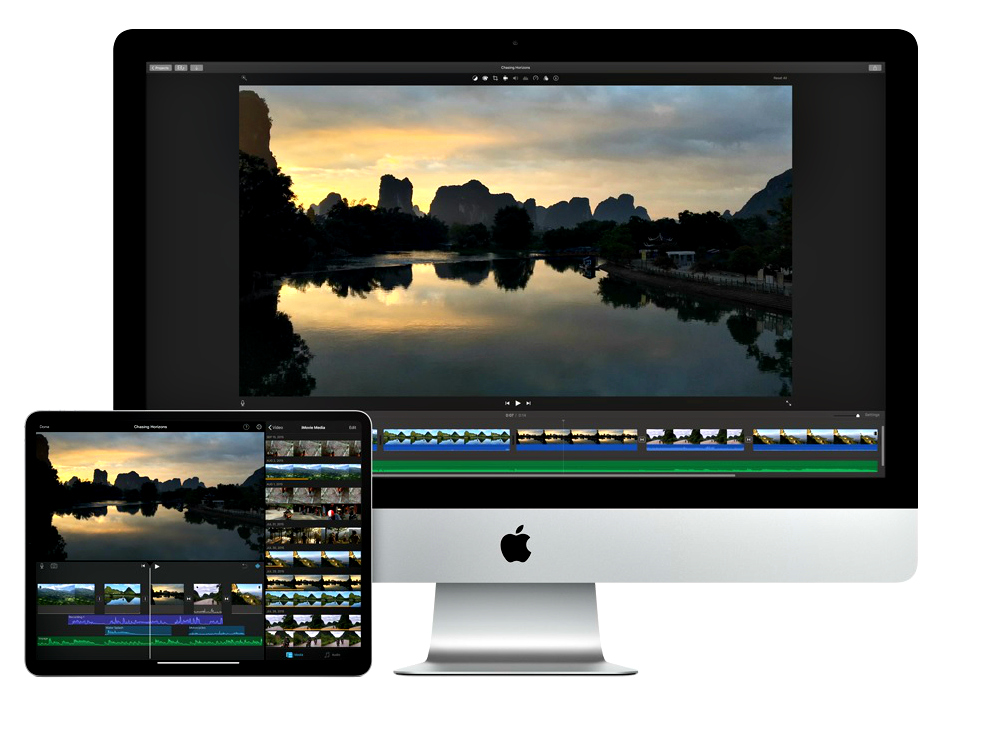
If you’re using a Mac, we recommend their free video montage maker: iMovie. You probably already have it on your computer. If you need to learn how to use iMovie take some time to explore it before diving into your family video montage.
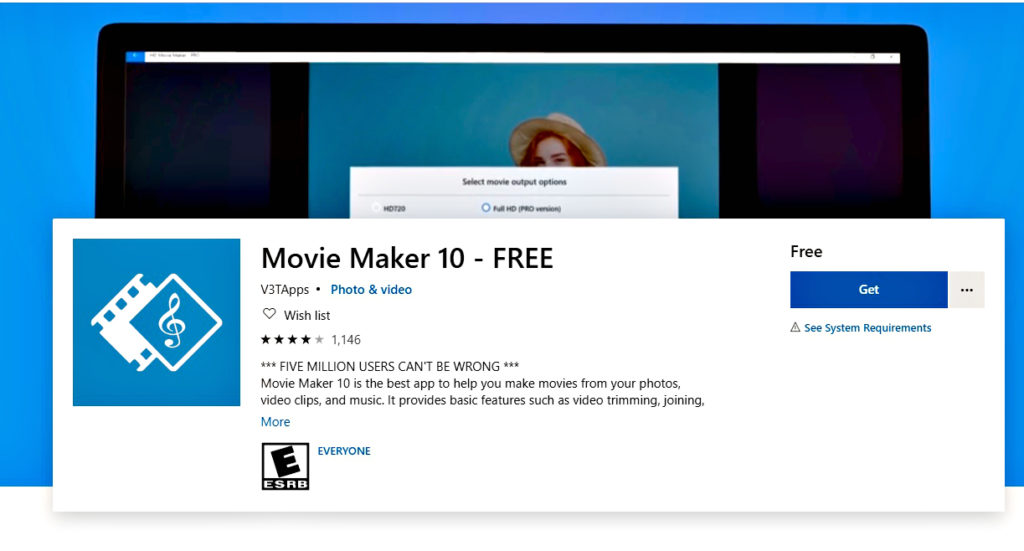
If you’re using a PC, we recommend downloading Movie Maker. It’s free to download, and although it’s fairly basic, you’ll put together a video without too much hassle.
Pick Your Music

The next step is to pick your video montage songs. Maybe your family has a favorite song that would be perfect to use. However, keep in mind that if you’re going to upload this video to Youtube to be shared, Youtube might take it down if the music is copyrighted.
There are a variety of sites to find royalty-free music fun songs for video montage. If you don’t want to risk your video getting taken down, we recommend using safe music.
Put It All Together
Now comes the fun part: putting it all together! This could take you hours, days or weeks, depending on how much footage you have. But it’s worth it to have a high-quality video that your family will be able to cherish for years.
Export and Upload It to YouTube
Make sure you export to somewhere that you can easily find it! We love using YouTube as a home to our videos as you can also make private settings for viewing only by those you invite or send the link. Create an account on YouTube if you haven’t already.
The final step is to export it. Make sure that your battery is plugged into its charger and that you have enough space on your hard drive. Because this will probably be a large file, it will take some time, so it’s best to leave your computer alone and let it finish.
When the video is done uploading, you can either leave it open for public viewing or you can make it private and viewable only with the specific link.
Share Your Video Montage With Your Family
Next up is the most rewarding part of this whole process. You get to share your creation with your family. When my 3-year-old granddaughter was taking swim lessons, I’d put together the above video montage and shared it on YouTube for the entire family to enjoy.
Set them all down around the TV with some popcorn and sweets for a full viewing party. Everyone is sure to love something that you put in so much effort. Make sure to give them access to the video so that they can watch it on their own time too.
Start Your Video Montage Today

Now that you know how to make a video montage, it’s time to get started and keep making memories. Keep reading to learn all about capturing memories that will last a lifetime.